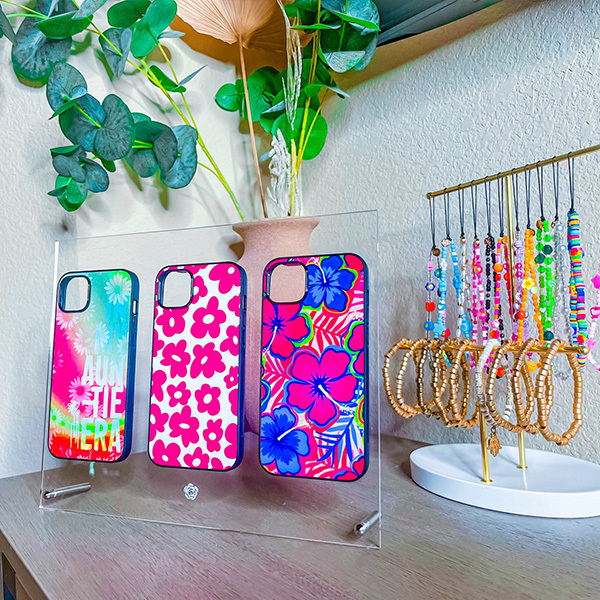
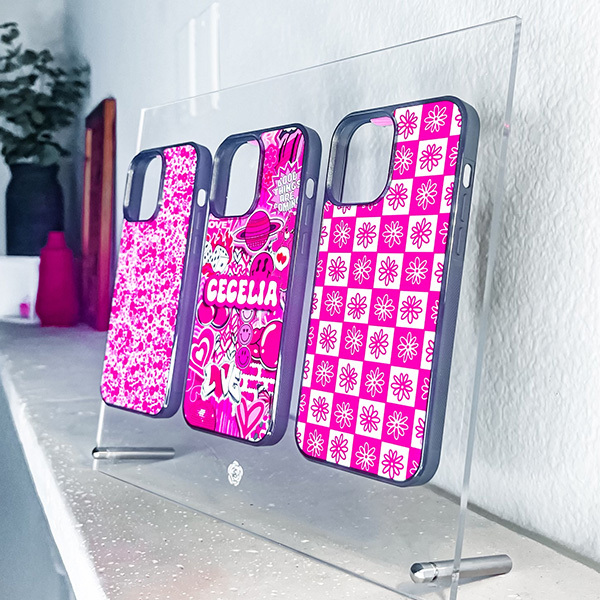
Rose Rack Instructions
Yay, you got your big white box!

Wall Display
- Acrylic frame with hooks and plastic film protective covering
- Four metal stand-off mounts
- Metal hanging chain
- Four metal screws with plastic wall anchors
- Rose Rack cleaning spray with microfiber cloth
The following items will be included in your shipment:
Assembly steps:
-
Unboxing the acrylic
Carefully remove the acrylic frame from the bubble wrap and place on a smooth, flat surface. We recommend laying a towel or cloth underneath to prevent scratching the acrylic.
-
Preparing the acrylic
Carefully peel off the transparent blue film on the front of the acrylic. It should remove cleanly from around the hooks.
-
Unboxing the mounts
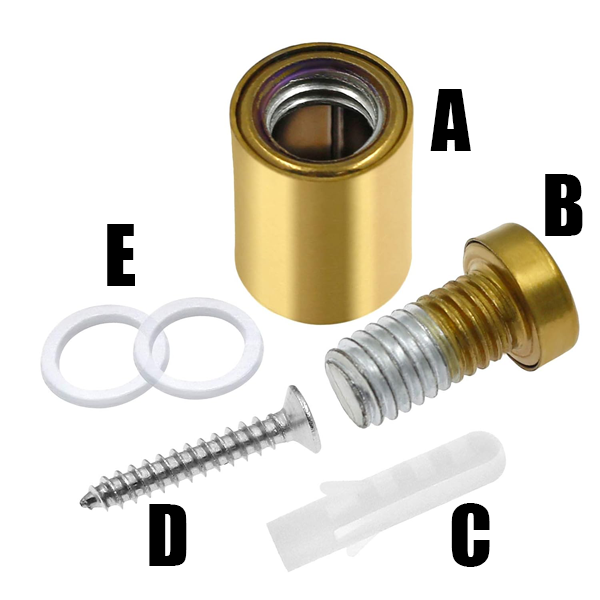
Remove four sets of metal stand-off mounts, screws and wall anchors from the drawstring bag. Unscrew the mounts, making sure to not loose the two plastic washers (E) inside, and set them aside.
-
Choosing Mounting Method
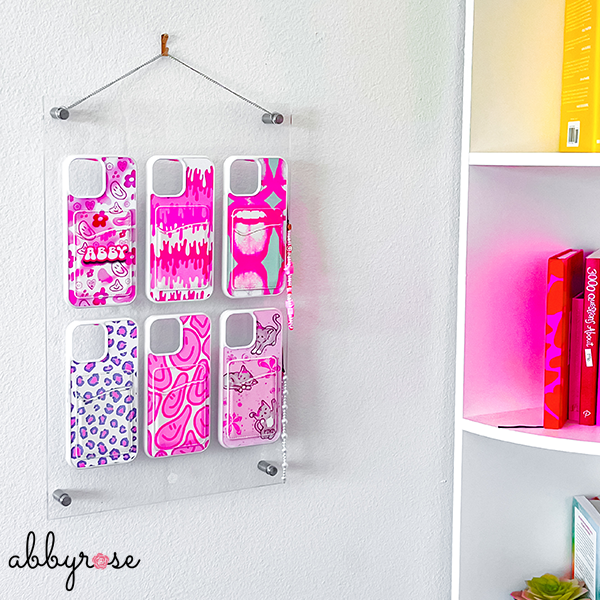
You have two options for attaching the Rose Rack to your wall. To permanently mount the Rose Rack with a floating effect, you will need to drill four holes in the wall. If you'd rather not drill holes, you can hang the Rose Rack using the included chain from either a single nail or hook.
-
Preparing the Wall - Floating version
Use the acrylic frame as a template to mark the locations for the four mounting holes on the wall. Drill four holes using a drill bit with a slightly smaller diameter than the included screws (D). If any of the holes are in drywall without a stud behind, you will need to hammer the plastic wall anchor (C) into the hole until it is flush with the wall. Use a screw (D) and screwdriver to pass through the base (A) of a stand-off mount (screw it from the big mouth into the small hole base) and tighten into a prepared hole. Repeat for the other three holes.
-
Attaching the Mounts - Floating Version
For each of the four holes in the acrylic frame, place a plastic washer (E) on either side of the acrylic, then insert a mounting bolt (B) through the acrylic and into a mount base (A) on the wall. Gently tighten all four mounting bolts. Do not over tigthen.
-
Attaching the Mounts - Hanging version
For the bottom two holes on the acrylic frame, place a plastic washer (E) on either side of the acrylic, then insert a mounting bolt (B) through the acrylic and into a mount base (A). The mount base should be on the back side of the frame. Repeat the process on the top two holes of the frame, but add one end of the hanging chain between the washer (E) and the mount base (A) on the back side of each hole. Gently tighten all four mounting bolts. Do not over tighten.
-
Cleaning the acrylic
Use the enclosed cleaning spray and microfiber cloth to remove any fingerprints or smudges from your Rose Rack.
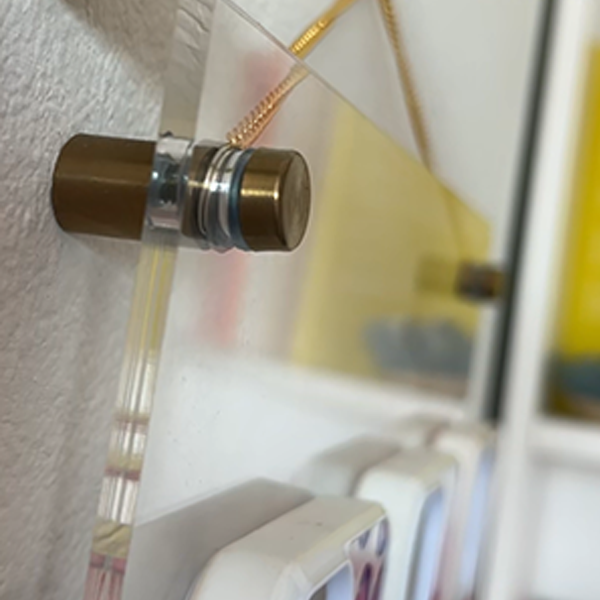
Desktop Minimalist
- Acrylic frame with hooks and plastic film protective covering
- Two metal stand-off mounts
- Rose Rack cleaning spray with microfiber cloth
The following items will be included in your shipment:
Assembly steps:
-
Unboxing the acrylic
Carefully remove the acrylic frame from the bubble wrap and place on a smooth, flat surface. We recommend laying a towel or cloth underneath to prevent scratching the acrylic.
-
Preparing the acrylic
Carefully peel off the transparent blue film on the front of the acrylic. It should remove cleanly from around the hooks.
-
Unboxing the mounts
Remove the two metal stand-off mounts from the drawstring bag. Unscrew them and set aside.
-
Attaching the mounts
Insert one stand-off mount into each hole on the bottom of the acrylic frame, screwing the two parts back together. The long ends of the mounts should be on the back side of the acrylic as shown in the picture.
-
Cleaning the acrylic
Use the enclosed cleaning spray and microfiber cloth to remove any fingerprints or smudges from your Rose Rack.
